

A hair straightening cream is a cream that is used to straighten curly, wavy, and fizzy hair temporarily.
We all love straight hair and people with curly and wavy hair love straight hair the most ironically.
For that, they head to the parlor for hair straightening which involves a lot of chemical products that damage the beauty of natural hair and is also expensive to afford.
Another process of hair straightening involves heating which snatches the moisture of hair and makes it rough and dull.
Must Read: 10 Best Aloe Vera Shampoos Available In India
But don’t be upset, because there is a way to straighten hair without involving heat and spending money which is by using hair straightening cream.
A hair straightening cream straight hair on a temporary basis without damaging the natural look of hair, further it doesn’t involve heat and is easy to use even at home.
A hair straightening cream is an ideal option for hair straightening at home for curly, wavy, and fizzy hair at home.
Must Read: Amla Aloe Vera Juice Benefits: Hairs, Skin, Health
It gives your hair shine and volume and a professional parlour-like sleek to your hair.
Here I will help you out by discussing the right manner on how to use a hair straightening cream at home step by step.
Must Read: 10 Best Tan Removal Face Wash In India
But before that, there are certain things to keep in mind before using hair straightening cream at home.
Precaution before using a hair straightening cream at home
1. Choosing the right hair straightening Cream
There are a lot of hair straightening creams available in the market. But you shouldn’t choose just randomly.
Always choose a product or hair straightening cream of a good and well-known brand.

2. Know the composition
Before buying a hair straightening cream carefully look for its composition to check whether it has something you’re already allergic to or something that is damaging to hair.
If you found any of this then avoid purchasing that hair straightening cream.
Also don’t forget to look for the expiry date. If it has been already expiring then no way on earth buy that product.
3. Patch Test
A patch test is the most important thing to do before doing hair straightening at home.
For doing patch tests take an ample amount of hair straightening cream and apply it on a small amount of your hair.
Leave it for some time and if you feel any irritation or burning sensation then immediately wash it off.
As it means that this product is not suitable for you please avoid using it.
Always do a patch test on the back portion of your hair, because if you do it on your front hair and it causes any reaction then it will affect your face.
Also, you can’t hide your front hair. That is why also do a hair patch test on the back portion of your hair and use a thin portion of hair.
To avoid any adverse reaction make sure to follow the above instructions carefully.
Now is the time for the step-by-step guide for using hair straightening cream at home.
How To Use Hair Straightening Cream Step By Step
1. Clean Your Hair
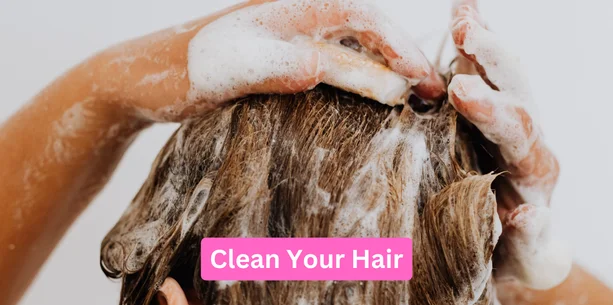
Before applying hair straightening cream wash your hair off with a mild shampoo or any shampoo you use.
Let your hair dry naturally until it is slightly damp as damp hair will evenly spread the hair straightening cream. Also, make sure to clean your hair from any oil or colorants.
2. Divide Your Hair
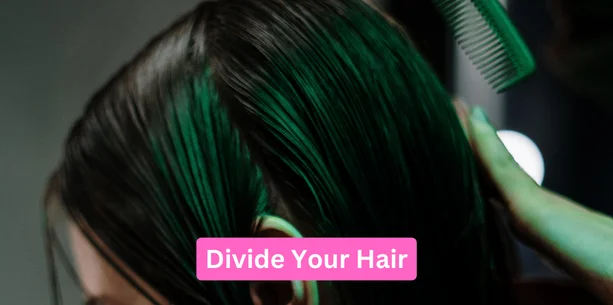
Divide your hair into two or more sections as per the thickness or volume of your hair for a better and even distribution of hair straightening cream.
After dividing your hair, comb your hair to prevent any knots and tangles.
3. Protect Your Hands
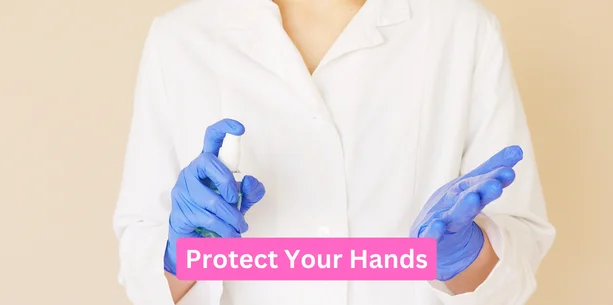
Before applying hair straightening cream make sure to wear hand gloves.
It is because it protects your hand from any irritation or allergic reactions due to the chemicals present in a hair straightening cream.
Mostly a hair straightening cream comes with a set of hand gloves in its packaging but there are some without any hand gloves also.
So make sure to buy a set of hand gloves with your hair straightening cream.
4. How to Apply Hair Straightening Cream
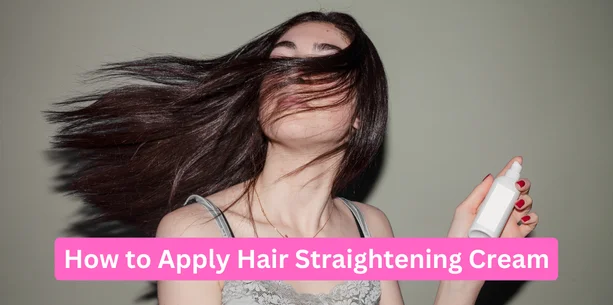
- For the application of hair straightening cream, squeeze some cream on your palm then rub it on your palm together,
- Now apply the cream on your hair on each section one by one,
- Apply the cream from mid-length to the end of the hair properly in each section,
- Run your fingers on each section of your hair for an even distribution of hair straightening cream.

5. Protect Hair Root and Scalp
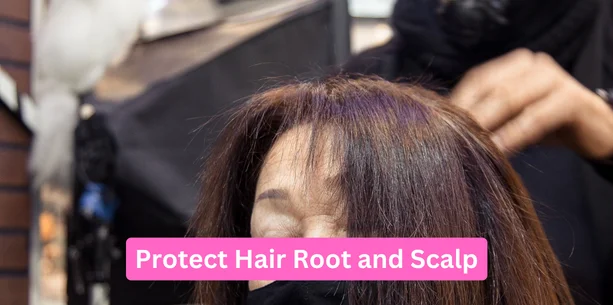
This is the most important part of applying a hair straightening cream to protect hair roots and scalp.
While applying a hair straightening cream make sure to avoid the application of cream on your hair roots or scalp.
It will help you to get a natural straightening look and protect your scalp from any adverse reaction of a hair straightening cream.
6. Combing
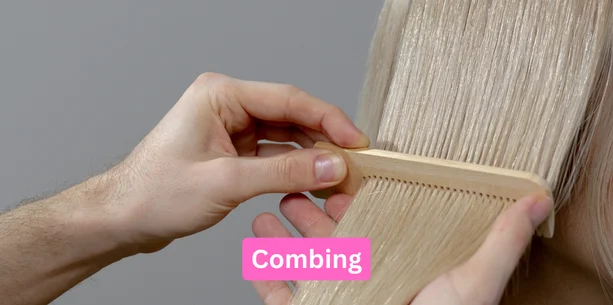
After applying hair straightening cream properly on your hair, use a comb for an even and more proper distribution of hair straightening cream.
Always use a wide-tooth comb for combing hair as it will prevent tangles.
7. Leave It For Rest
After combing your hair let it rest for the hair straightening cream to work on your hair.
You should rest the cream as per the time given on the instructions of the product. Because the time taken by a hair straightening cream to work on hair depends on the brand it belongs to.
Also working of a cream depends on the condition of your hair.
The most usual time suggested irrespective of the instructions to leave a hair straightening cream is 20-30 mins.
8. Blow Dry

After waiting for the time given on the instructions comes the time for blow dry.
A blow dryer will help to activate the hair straightening cream and work magically.
That is why you should blow dry your hair until your hair is completely dry.
As you are blow drying use a wide tooth or round comb to comb your hair so as to set the cream evenly.
9. Rinsing
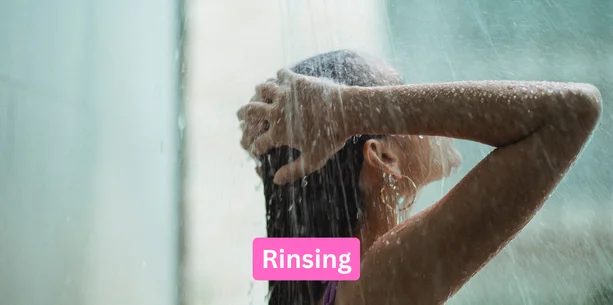
For rinsing of hair straightening cream use lukewarm water. Rinse your hair to remove the cream build-up every 2-3 days.
10. Style Your Hair
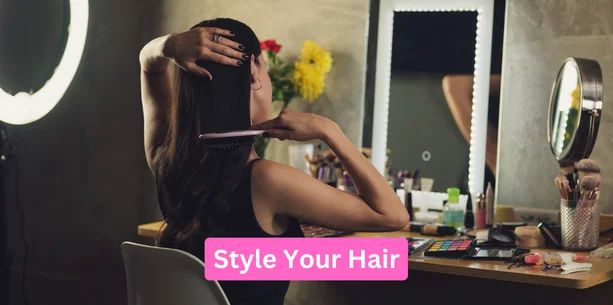
Well, your hair is ready to style now. You can style your hair in any way but avoid using heat and if used apply heat protectant cream or serum before it.
So above the 10 easy steps of applying hair straightening cream at home for a professional parlour-like hair straightening procedure.
Make sure to follow each step carefully for a better result and beautiful sleeky nourished hair.
Straight hair is never out of fashion and it suits each face type beautifully but a permanent hair straightening procedure might be impatient and damaging to the natural look of the hair. Also, frequent ironing or heating of hair is damaging to the moisture & condition of hair.
That is why a hair straightening cream is recommended and used by a lot of people who need a temporary straight hair look.
A hair straightening cream is no way less than a professional hair straightening procedure along with a nourishing and voluminous look of hair with sleek beauty.
What should I apply before using a hair straightener?
Before using a hair straightener use a heat-protection serum.
Should I use hair straightening cream?
Yes, you can use hair straightening cream but before do a patch test.
How to do hair straightening step by step?
1. Clean Your Hair
2. Divide Your Hair
3. Protect Your Hands
4. Apply Hair Straightening Cream
5. Protect Hair Root and Scalp
6. Combing
7. Leave It For Rest
8. Blow Dry
9. Rinsing
10. Style Your Hair